
What Is a Plate Heat Press and How Does It Work?

A Plate Heat Press uses a heated, flat plate—often called a platen—to apply heat and pressure to a material. It is commonly used to transfer designs onto garments, bags, and other suitable surfaces. The exact setup depends on the machine and transfer material. A typical press has an upper heated platen, a lower support platen, and controls for temperature and pressing time. Some models also let operators adjust pressure. Details matter.

To use one, the operator positions the item and transfer, sets the required temperature and time, then closes the press. The platen warms the transfer, while steady pressure helps it bond to the surface. After the cycle, the operator opens the press and follows the transfer maker’s instructions for peeling or cooling. Those instructions vary. There is no single setting that works for every fabric, ink, or transfer film.

Good results depend on more than heat alone. Uneven placement, seams, moisture, or a poorly calibrated display can affect the finish. A test press on a similar material can reveal problems before a larger run. It is also sensible to keep hands clear of the closing platen and use the machine according to its manual. The process sounds simple. In practice, small adjustments may be needed, and the first attempt may not be perfect. Temperature readings and timing help, but careful observation still matters.
What Is a Plate Heat Press and How Does It Work?

What a Plate Heat Press Is

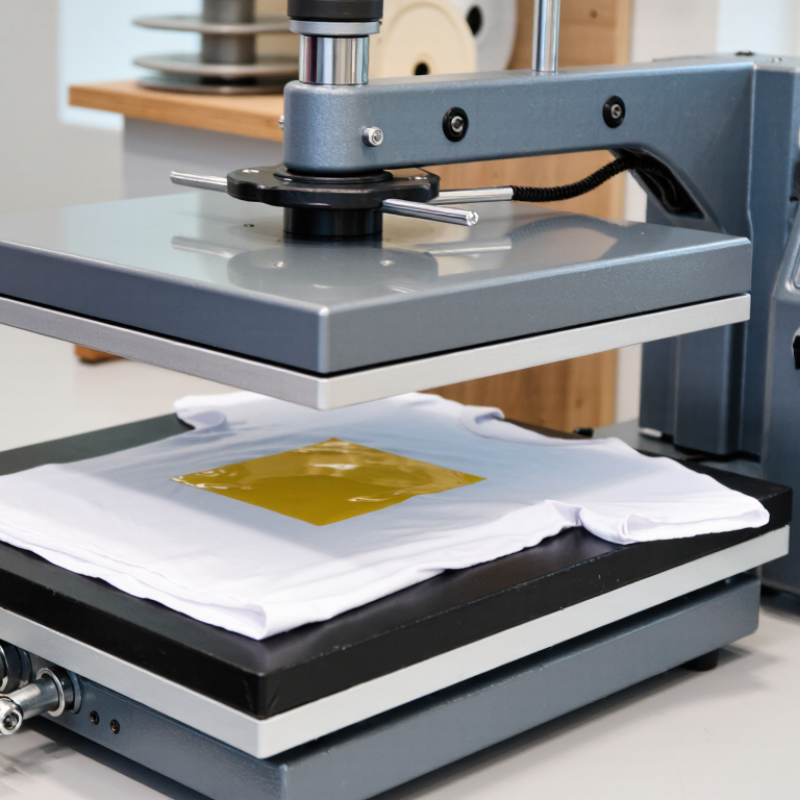
A plate heat press is a machine with a flat, heated platen that applies heat and pressure to a flat surface. It transfers a prepared design onto fabric or another compatible material. The operator places the item on the lower bed, positions the transfer, and closes the platen for a set time. Heat helps activate the transfer’s adhesive or dye; pressure keeps contact even. Unlike a mug press, it is built for flat items such as shirts, fabric panels, and coated blanks. It does not print the design itself.

The platen’s temperature, pressure, and dwell time all affect the result. Too little pressure can leave pale patches; too much heat may mark the fabric.

ASTM International’s D1776/D1776M textile-conditioning standard specifies 21 ± 1°C and 65 ± 2% relative humidity for conditioning textiles before testing. Those are laboratory conditions, not heat-press settings, but they show how moisture can affect textile measurements.

The display can be reassuring, but it may not tell the whole story. Check platen temperature with a suitable surface probe and test a small swatch; readings can vary across the plate. Real work is a little messier than the manual suggests.

The Main Components of a Plate Heat Press

A plate heat press is built around two flat surfaces. The upper platen contains heating elements that distribute heat across the working area. The lower platen supports the item being pressed and often has a replaceable silicone pad. That pad cushions the material and helps accommodate slight surface differences. It can wear unevenly, so inspect it for dents or hardened spots.

A sturdy frame keeps the platens aligned, while a handle and pressure mechanism bring them together. Pressure may be adjusted with a knob or lever, depending on the machine. Too little pressure can leave weak areas; too much may mark delicate material. The controller sets the target temperature and pressing time, and a separate display may show current readings. Readings are useful, but they do not guarantee perfectly even heat across every corner. A thermometer designed for surface checks can help verify conditions. Small details count. Hinges, wiring, and safety features also matter: a loose hinge can affect alignment, and a cool-touch handle reduces contact with hot parts. I would still check the actual setup before each run; settings alone can be misleading.

How a Plate Heat Press Transfers a Design

A plate heat press transfers a design by clamping a printed transfer against a flat surface with controlled heat and pressure. The artwork may sit on transfer paper or film, depending on the process. Heat activates the colorant or adhesive, while pressure helps it contact the material evenly. A firm, flat setup matters. Seams, folds, and thick hems can lift part of the transfer from the platen.

The operator positions the design, lowers the heated platen, and holds it for the transfer’s specified time. Temperature, pressure, and peel timing vary by transfer and fabric, so one setting cannot suit every job. A test swatch can reveal weak edges or color changes before production. Small details matter. Still, a test does not guarantee every garment will behave identically.

Waste makes careful setup worthwhile. Textile Exchange’s Materials Market Report 2024 estimated global fiber production at 124 million tonnes in 2023. The U.S. EPA’s 2018 materials-flow report recorded about 17 million tons of textiles generated in municipal solid waste. Those figures do not measure heat-press defects, but they underline the value of avoiding preventable reprints. Even experienced operators can miss a corner; checking alignment and contact before pressing is a useful habit.

What Is a Plate Heat Press and How Does It Work? - How a Plate Heat Press Transfers a Design
Stage or Component What Happens Practical Details
Plate heat press A plate heat press uses a heated upper element and a shaped support to apply heat and pressure to a plate-shaped blank. The curved support helps hold the plate in position and brings the transfer into contact with its printable surface.
Printable plate surface For sublimation, the plate generally needs a suitable polymer coating that can receive the transferred dye. Ordinary uncoated ceramic does not accept sublimation dye in the same way. Use blanks specified for the chosen transfer method.
Design preparation The artwork is printed in reverse onto sublimation transfer paper using sublimation ink. Mirroring the design before printing ensures text and directional artwork appear correctly on the finished plate.
Positioning The printed transfer is placed face down against the coated surface and secured so it does not shift. Heat-resistant tape can help hold the paper in place. Keep the design within the printable area of the plate.
Heat and pressure The press closes, bringing the heated element into contact with the transfer and plate. Follow the blank and press instructions. A commonly used starting range for some coated sublimation plates is about 180–200°C (356–392°F) for 60–90 seconds; settings vary by product and equipment.
Dye transfer With sublimation, heat causes dye in the printed design to form a gas that diffuses into the polymer coating. The dye becomes part of the coating rather than sitting on top as a separate printed film. This process requires a compatible coating and transfer materials.
Release and cooling After pressing, the plate is removed carefully and the transfer paper is peeled away according to the material instructions. The plate may be hot. Use suitable heat protection and place it on a heat-resistant surface while it cools.
Result and quality check The finished plate should show the transferred design across the intended printable area. Faint areas, blurred edges, or uneven color can result from poor contact, movement, incorrect settings, or an unsuitable blank. Adjust one variable at a time and follow the supplier’s guidance.

How Heat, Pressure, and Time Affect Results

A plate heat press uses shaped, heated platens to transfer an image onto a compatible coated plate. Heat activates the transfer medium, while pressure keeps it in contact with the surface. Time allows the process to develop. These factors work together, but more is not always better.

Too little heat may leave pale patches or incomplete edges. Excess heat can dull colors, distort coatings, or cause uneven marks. Pressure matters too: a loose fit can create gaps, while excessive force may stress the plate. Check that the plate sits evenly against the platen. Small shifts matter.

Time depends on the transfer material, plate coating, and press setup. Follow the material supplier’s instructions, then test a spare or less valuable plate when possible. Change one setting at a time. That makes results easier to assess. A timer helps, but it cannot correct poor alignment. I’ve found that a quick visual check before pressing can prevent avoidable flaws. Still, readings and results may vary between presses, so keep notes on settings and outcomes. Handle the plate carefully after pressing; it may remain hot.

Materials and Projects Suited to Plate Heat Pressing

A plate heat press transfers printed designs onto specially coated, heat-resistant plates using controlled heat and pressure. Its curved heating element presses the transfer against the plate, helping the image bond to the coating. Transfer paper and suitable inks must match the blank and pressing process. A poorly matched coating can produce faded colors or uneven coverage. Not every plate is suitable. Choose blanks designed for heat transfer, and follow their temperature and timing instructions.

Plate pressing suits personalized gifts, commemorative displays, and small batches of decorative plates. Family photographs, simple illustrations, and short text usually work well because they remain clear on a curved surface. Keep important details away from the rim; the press may not apply equal pressure there. Test a sample when possible. It is tempting to use an ordinary ceramic plate, but its surface may not accept the transfer, and excess heat can damage it. Use finished plates for display unless the blank is explicitly rated for food contact. Even then, keep designs away from areas that touch food. A slightly imperfect first test can reveal where the image shifts or loses color.

We Meet Our Clients Needs.

Meeting the diverse needs of our clients, we have complete machining facilities for everything from single part prototypes to large quantity production. Our small size is one of our biggest assets. It allows us to control costs and maintain the highest of standards.

Quality orientated  and delivery always on time or earlier than originally promised.

Strongly recommend MSD.